I bought an SDRplay RSP2 SDR recently. I had been looking for a multimode VHF/UHF transceiver but couldn’t find one within my budget. The transceivers that get listed on eBay go for silly prices and I’m not sure I want to pay the asking price for a new model.
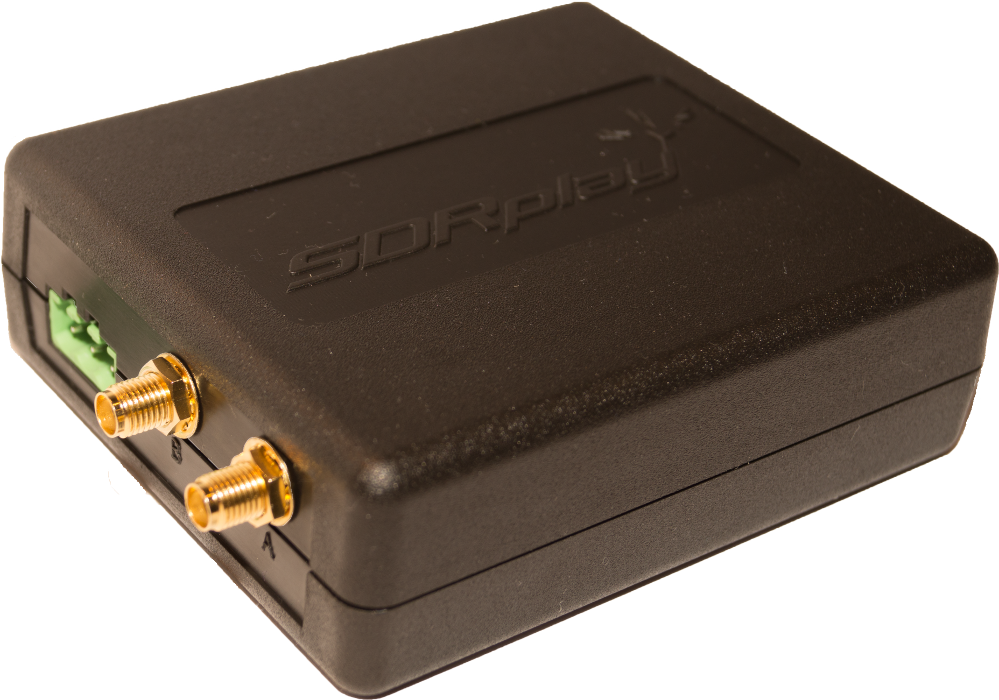
So I’ve decided to concentrate on receiving signals from satellites rather than transmitting, hence the purchase of the RSP2.
One of the specs of the RSP2 is the maximum signal it will tolerate at its aerial inputs. It says 0dBm which by my calculations says the voltage at the input must be under 0.22 Vrms to be safe. This sent alarm bells ringing as my Cebik Moxon aerials share the same attic as my small transmit loop aerial.
So I made some measurements.
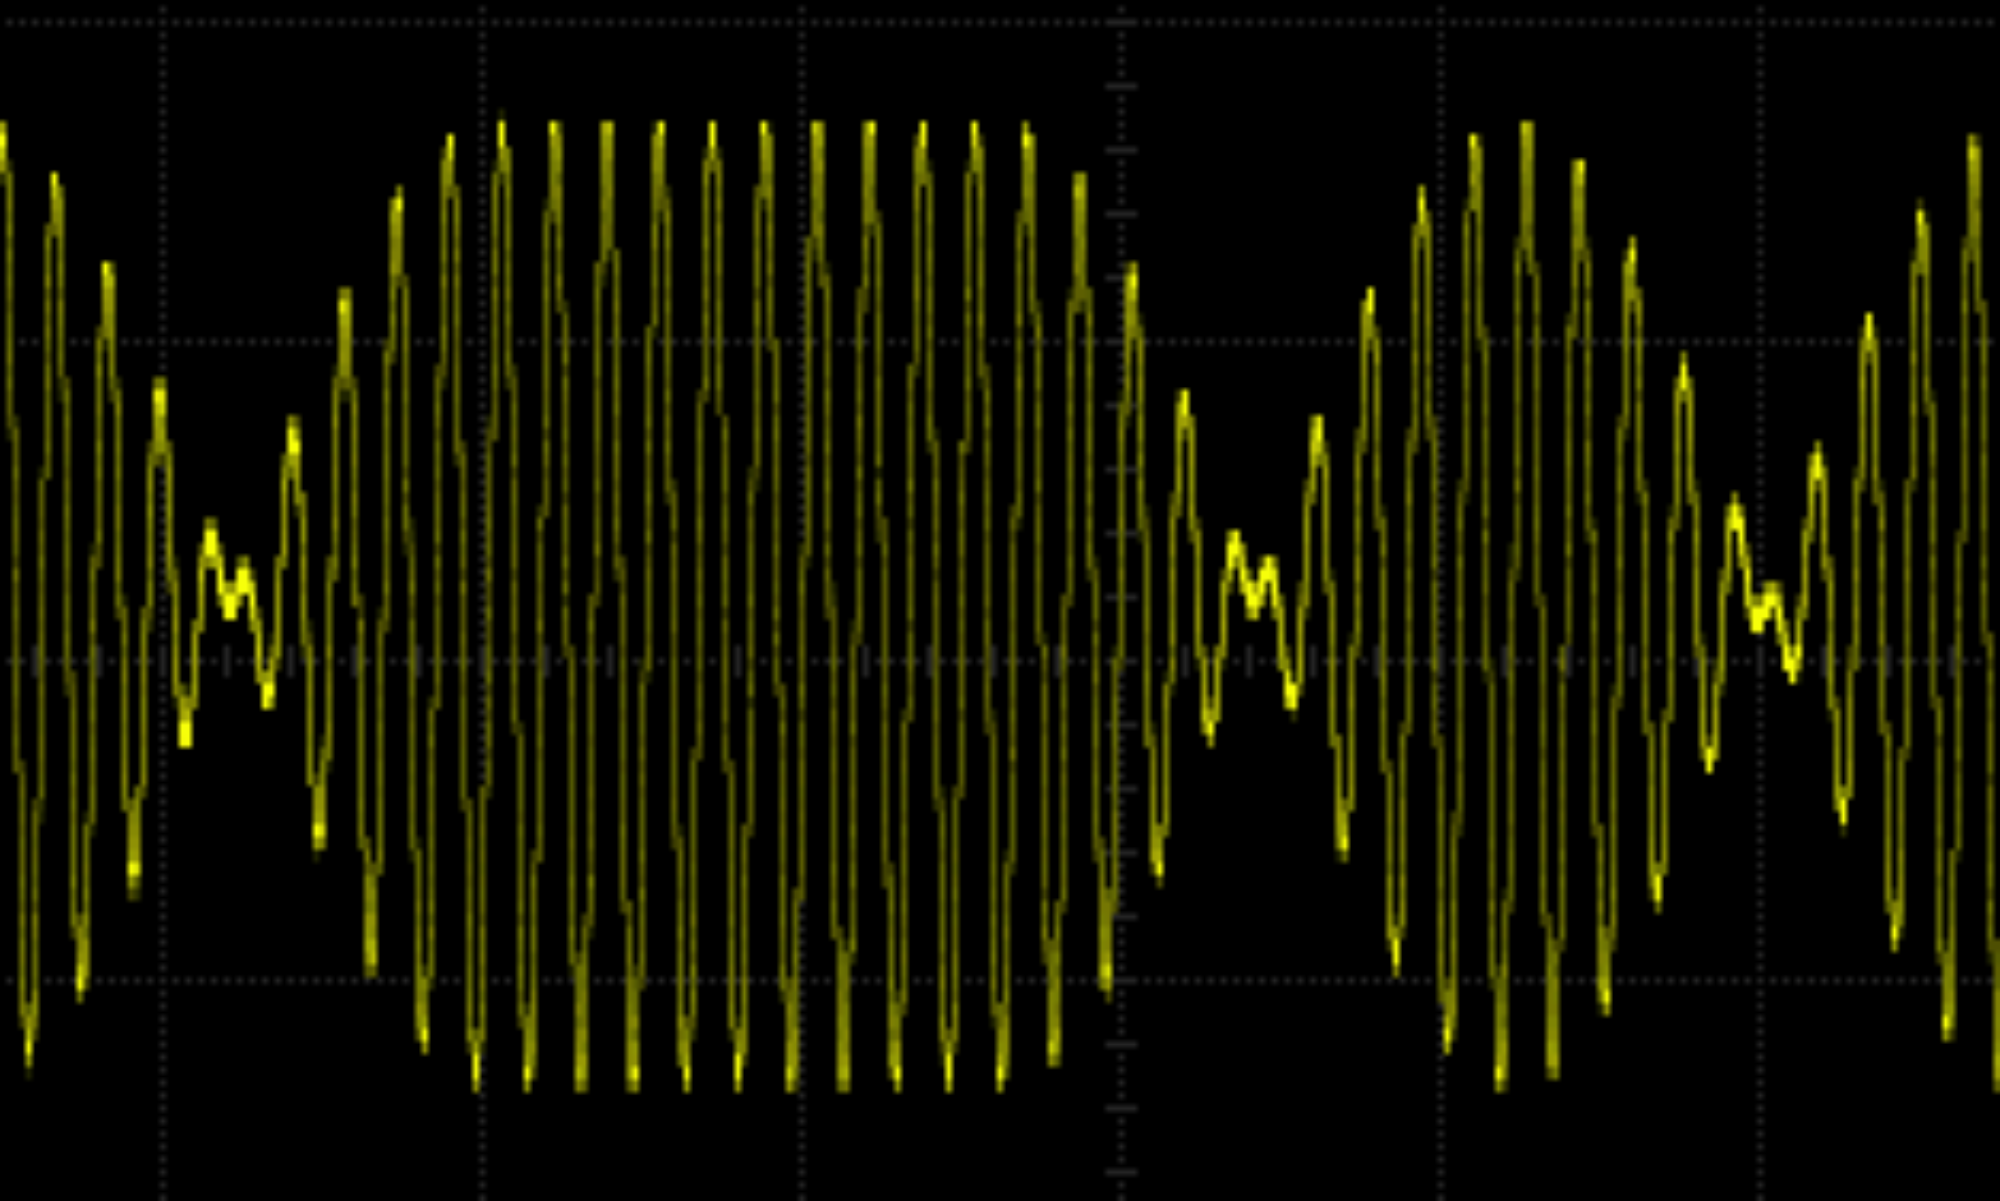
I measured the voltage seen in the shack from the Cebik Moxons when transmitting 10W to the magnetic loop. The measurements were on my HP 54615B scope with a 50Ω termination.
No RF 800µV
TS590S tune (10W) 191mV at 14.2 MHz
TS590S tune (10W) 288mV at 7.07 MHz
So my RSP2 is unsafe in its current location and configuration. I must not transmit using my HF rig if I have the RSP2 connected to my Cebik Moxon aerials.
My first thought was to put a high pass filter on the Cebik Moxons to block 6m and below. I’m sure this would work but there would be some insertion loss.

But I have an Moonraker M-100 masthead preamp which has a 24-2300 MHz filter. This wouldn’t block 10m and 6m, but I don’t transmit on those bands using the small transmit loop and if I did the radiated power would be quite small as the impedance mismatch would be high.
So I made some more measurements with the M-100 in the shack. I know these won’t give the same effective gain at the receiver as measurements made with the M-100 in the attic, but it’s close enough for a start. The dial on the M-100 is laughable as the gain you get at each position bears only a passing relationship to the actual gain. The most you can say is the more clockwise the dial the higher the gain. Hence the ‘on dial’ below.
• Zero gain (on dial)
No RF 18mV
10W 14.2MHz 32mV
10W 7.07MHz 39mV
• gain +10 (on dial)
No RF 18mV
10W 14.2MHz 25mV
10W 7.07MHz 53mV
• gain +20 (on dial)
No RF 19mV
10W 14.2MHz 559mV
10W 7.07MHz fuzzy on the scope so I assume the signal is distorted somehow
• gain at 12 o’clock
No RF 18mV
10W 14.2MHz 50mV
10W 7.07MHz 16mV
This looks promising as the preamp gain should be set to just retrieve the loss from the cable and this should end up being 12 o’clock or lower.
The next step is to install the M-100 in the attic and re-measure. I’ll probably use a bias-tee arrangement so I can power it from the shack.


 to go 5m which is 4.88ns/m, so the speed is
  , so the Velocity Factor,
  .
. is 513.7mm at 145.9MHz.


 .
.

