I decided to build or buy a diplexer to communicate with LEO (low earth orbit) satellites that use cross-band operation.
Some of the satellites in LEO are U/V or V/U. U/V means the satellite receives at UHF but transmits at VHF. V/U is the other way around.
My space aerials are in the attic and there are only two cables going from the shack to the attic. One thick cable is used solely for HF, and the other thinner cable is used for higher bands, 6m, 2m and 70cm.
A diplexer allows the use of different frequencies on the same cable. In this case it allows both VHF and UHF aerials to be used on the same cable. The diplexer has one input (from the transceiver) and two outputs (one to the VHF aerial and one to the UHF aerial) when transmitting. The diplexer blocks VHF signals going to the UHF output, and also blocks UHF signals going to the VHF output. In this way the transmit power goes where it is most wanted, that is, to the appropriate aerial.
On receive the same ports are used but there are two inputs (one from each aerial) and one output (to the transceiver).
I decided not to built a diplexer for VHF/UHF operation as fiddling with inductors at those frequencies can be a bit hit-or-miss unless you use SMD components. It’s much easier to buy one, especially for those of us who are challenged when building VHF and UHF inductors. There are a few diplexers on offer, and I chose one on eBay from HA8LFK. It seems well built and works fine. The 50W limit certainly won’t affect me just now as the highest power I can send on VHF/UHF is 5W. One drawback may be that the sockets are SMA and my shack mostly uses BNC for VHF and above.

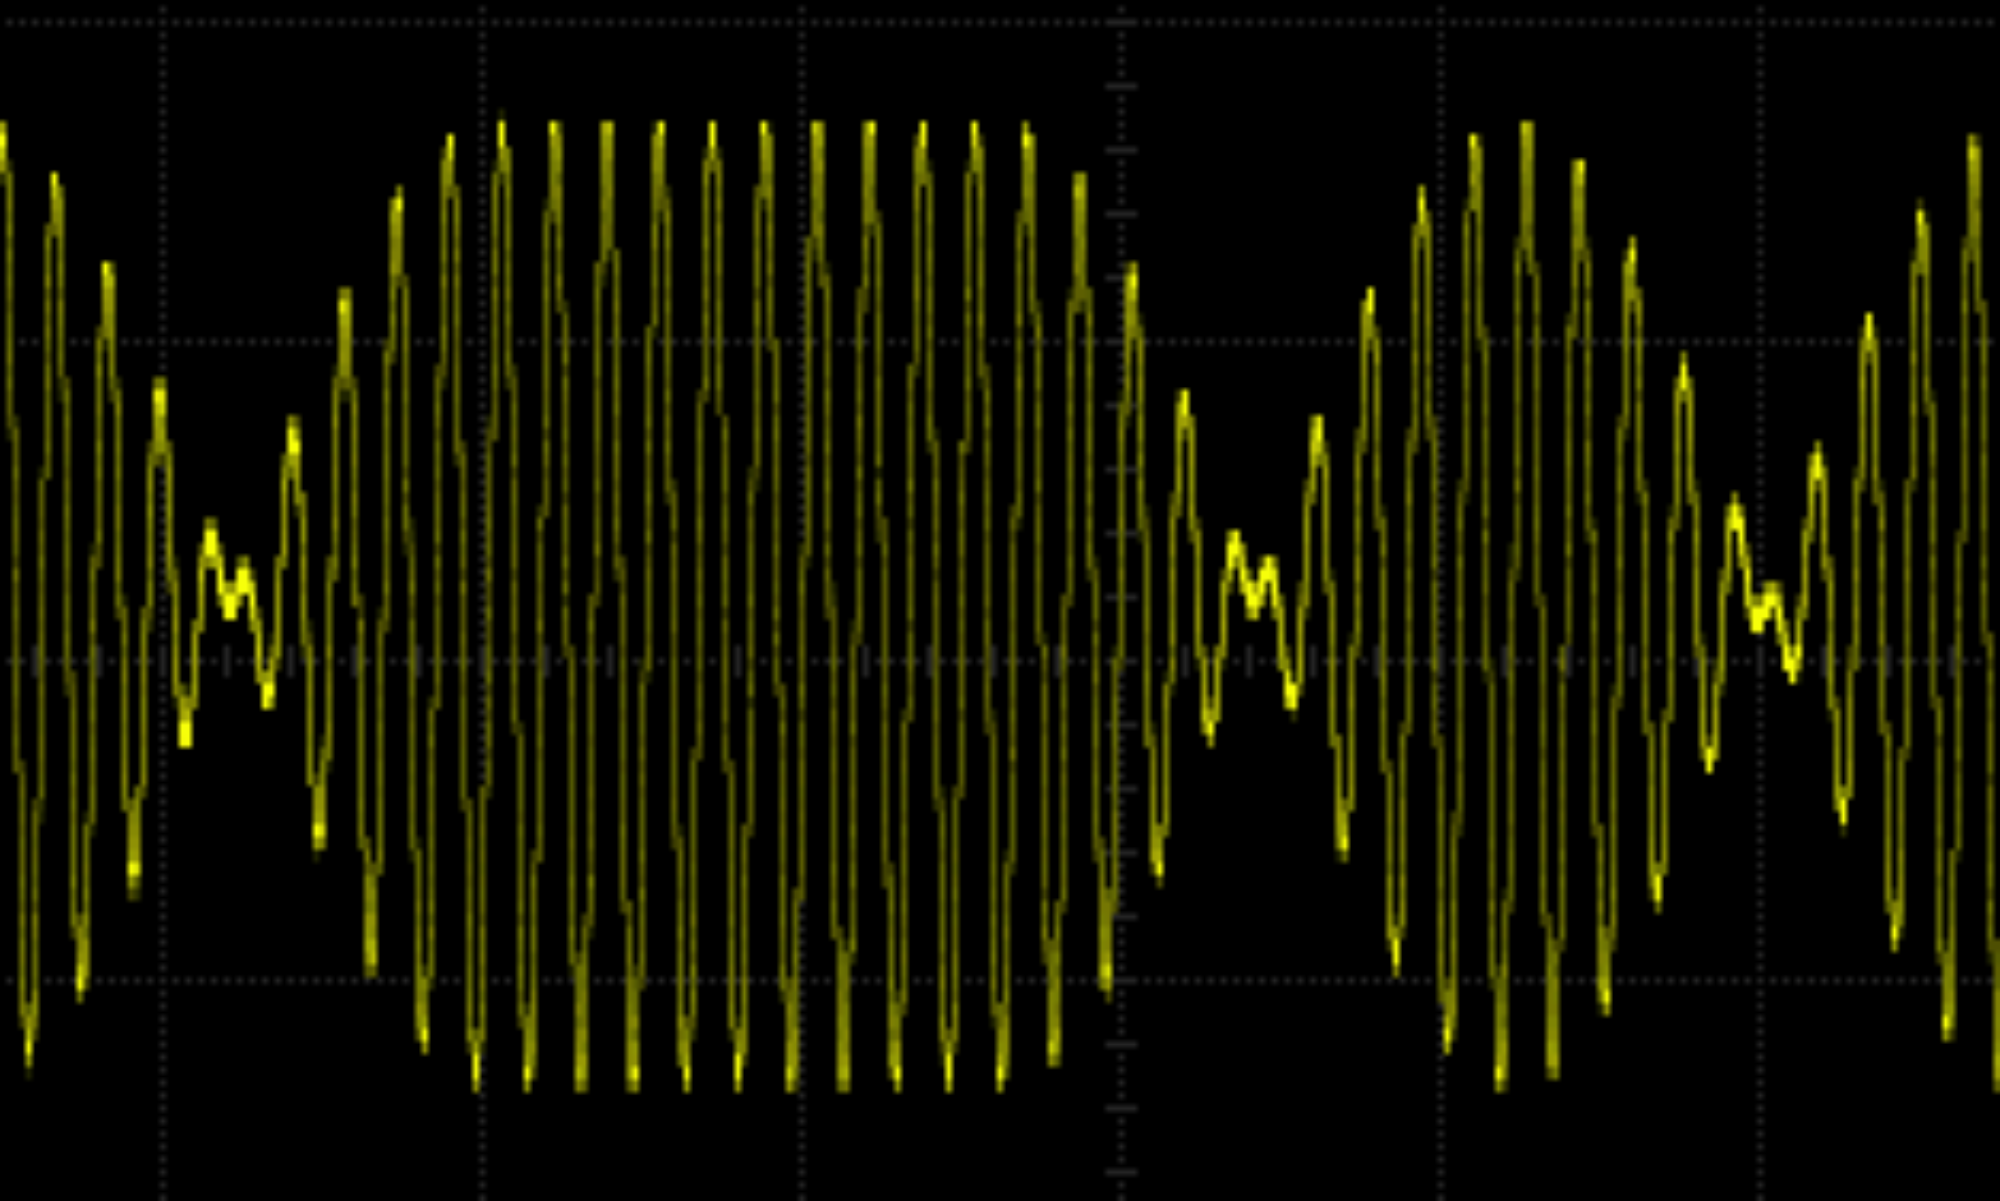
I have characterised this diplexer by sending sine waves of various frequencies through its transmit path and measuring the outputs. The signals came from my WaveTek model 1062 sweep generator and were measured at my HP 54615B scope. I used SMA/BNC adapters and short BNC cables to connect the diplexer to the test equipment.

As you can see the sweep generator signal is almost flat. The VHF port peaks a little lower than the 2m band. The UHF port peaks a little lower than the UHF band. Neither seems significant.
The insertion loss on transmit is 1.45dB at 2m, and 1.79dB at 70cm.
I didn’t make a graph for receive but did measure the insertion losses: 0.72dB at 2m, and 1.24dB at 70cm. This surprised me as I would have thought the diplexer would be symmetric, but it appears not.
Now to use it in anger …